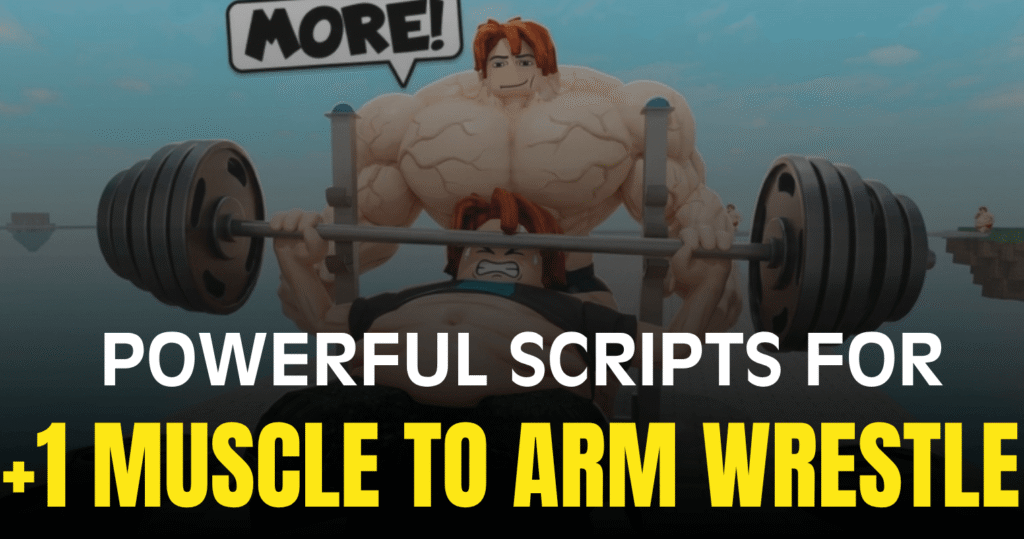
+1 Muscle to Arm Wrestle is a Roblox grinding and strength-building game where players train muscles, unlock upgrades, and compete to become stronger than opponents. Many players use scripts to automate repetitive gameplay actions and improve progression speed. This Powerful +1 Muscle to Arm Wrestle Script includes auto play systems, auto farming tools, teleport features, and mobile-ready support for smoother grinding sessions.
01. Inertia Script – Auto Play & Auto Farm Everything
This Lua script is designed for players who want full automation support while playing +1 Muscle to Arm Wrestle. It can automatically handle several in-game tasks, helping players progress with less manual grinding. The script is also mobile-ready, making it useful for players using supported mobile executors.
Script Features
| Feature | Details |
|---|---|
| Auto Play | Automates gameplay actions |
| Auto Farm | Handles grinding tasks automatically |
| Auto Use Potions | Uses potions during gameplay |
| Auto Buy Upgrades | Purchases upgrades automatically |
| Teleport Support | Includes teleport functions |
| Mobile Ready | Supports mobile-compatible executors |
| Key System | Uses a key verification setup |
| Easy Loader | Simple Lua execution process |
loadstring(game:HttpGet("https://ezkeys.wtf/api/v2/inertia"))()Benefits of using these scripts
This +1 Muscle to Arm Wrestle script can help players progress faster by automating training and upgrade systems. Auto play and auto farm functions reduce repetitive actions during grinding sessions, while automatic potion usage and upgrade purchasing help maintain steady progression. Teleport features can also make movement around the game faster and more convenient, especially during long farming runs. Mobile-ready support gives players additional flexibility when playing on supported devices.
How to Use These Scripts
- Download a Roblox executor that supports Lua scripts.
- Open Roblox and launch +1 Muscle to Arm Wrestle.
- Copy the script code from the article above.
- Paste the Lua script into your executor window.
- Attach or inject the executor into Roblox.
- Run the script and complete the key system if required.
- Wait for the interface to load before enabling features.
- Test the automation tools carefully and rejoin the game if a feature does not respond correctly.